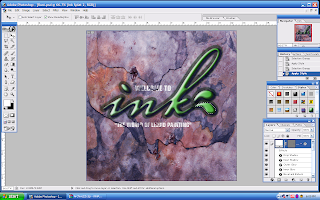
 Here i used the rectangle tool and so i create a mask vertical thumbinal and then i create another mask. After that i clicked the new mask which i created and i pressed ctrl+del. So, that the background will be hidden. I used custome shape tool to draw the shapes.
Then i went to channel and then i choose the red in the background chanel and i drag it to the layer icon then i create a new channel. After that i went to edit and click define patterns, then i went back to the layer i opened the layer style and go to texture and deselect link with layer and clicked snap to origin. I dragged the effects and named a new style so that i can apply the effects for other object.
 Over here i just drag all the effects i had applied on the "ink" word to the window of styles and then i create a new style and then i applied on the rest of the objects in the image.
Here, i went to bevel and emboss; change the depth, direction up, size 13px and soften 7px.
 Here i went back to inner glow again. I select the blend mode to screen, opacity 89%, technique softer, choke 94%, size 8px and i used green mixed black colour.
  Next i clicked outer glow. Choose green colour and change the blend mode to multiply and for technique i chossed softer.
  After that i went to inner shadow; change the distance to 2px, change choke to 35%, size 9px and change the angle to 148.


1 comment:
Nice work.
You still have the minimize your image file size. It takes a while to view your image and some images really too slow to show up.
Post a Comment